tiramisu layer cake
Recipe By: Christina Tosi
Tiramisu Layer Cake
Tiramisu is so luxurious and fancy, even saying the word makes you want to put your pinky out. This Tiramisu Layer Cake is certainly lush, but it’s got a lot of heart too.
On a trip to visit her father’s family in Northern Italy, surrounded by warmth and the smell of fresh, strong coffee, Tosi learned her family’s tiramisu recipe. Soon, the time came for her to celebrate this recipe-keepsake on her own terms. And this layer cake is just that.
This Milk Bar twist on Italy’s famous dessert starts by giving your vanilla cake an invigorating bath in a deep, bitter coffee soak. Then layer those cake rounds with chunky chocolate crumbs, velvety coffee frosting, and a rich cannoli cream that combines liquid cheesecake, ricotta and mascarpone—because when your cake is extra, why not?
Fun baking fact: tiramisu (and cannoli filling) usually call for ricotta or mascarpone. At Milk Bar, we like to be extra, so our tiramisu has not one, not two, but three cheese components :)
Bring this to your next fancy-ish get-together or share with your favorite people who love Italian desserts (or coffee) just as much as you.
Get this free recipe!
Create an account or log in to read the full recipe.
Tiramisu Layer Cake
Vanilla Cake
STEP 1
heat the oven to 350°f.
STEP 2
combine the butter and sugars in the bowl of a stand mixer fitted with the paddle attachment and cream together on medium-high for 2 to 3 minutes. scrape down the sides of the bowl, add the eggs, and mix on medium-high again for 2 to 3 minutes. scrape down the sides of the bowl once more.
STEP 3
on low speed, stream in the buttermilk, oil, and vanilla. increase the mixer speed to medium-high and paddle for 4 to 6 minutes, until the mixture is practically white, twice the size of your original fluffy butter-and-sugar mixture, and completely homogenous. don’t rush the process. you’re basically forcing too much liquid into an already fatty mixture that doesn’t want to make room for the liquid. stop the mixer and scrape down the sides of the bowl.
STEP 4
on very low speed, add the cake flour, baking powder, and salt. mix for 45 to 60 seconds, just until your batter comes together and any remnants of dry ingredients have been incorporated. scrape down the sides of the bowl. if you see any lumps of cake flour in there while you’re scraping, mix for another 45 seconds.
STEP 5
pam-spray a quarter sheet pan and line it with parchment, or just line the pan with a silpat. using a spatula, spread the cake batter in an even layer in the pan. give the bottom of your sheet pan a tap on the countertop to even out the layer.
STEP 6
bake the cake for 30 to 35 minutes. the cake will rise and puff, doubling in size, but will remain slightly buttery and dense. at 30 minutes, gently poke the edge of the cake with your finger: the cake should bounce back slightly and the center should no longer be jiggly. leave the cake in the oven for an extra 3 to 5 minutes if it doesn’t pass these tests.
STEP 7
take the cake out of the oven and cool on a wire rack or, in a pinch, in the fridge or freezer (don’t worry, it’s not cheating). the cooled cake can be stored in the fridge, wrapped in plastic wrap, for up to 5 days.
NO TIME TO BAKE?

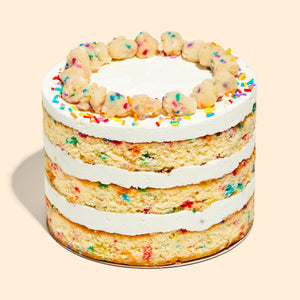
You’ve never tried a birthday cake like this. Our bestselling...

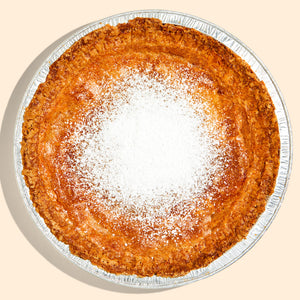
Our signature, gooey Milk Bar Pie has a sticky, buttery,...

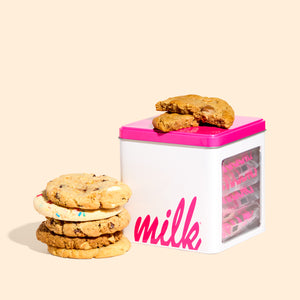
Have a little bit of everything! This sampler pack of...


