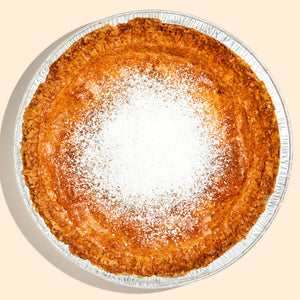
Milk Bar Pie Recipe
This impossible-to-put-down fan favorite filled with gooey buttery goodness and delivered straight to your mouth in a hearty, toasted oat crust will have you coming back for more.
YIELDS: Makes enough for 2 (10-inch) Milk Bar Pies
Get this free recipe!
Create an account or log in to read the full recipe.
Milk Bar Pie Assembly
Milk Bar Pie Assembly
Step 1
Heat the oven to 350°f.
Step 2
Put the oat cookie, brown sugar, and salt in a food processor and pulse it on and off until the cookie is broken down into a wet sand. (If you don’t have a food processor, you can fake it till you make it and crumble the oat cookie diligently with your hands.)
Step 3
Transfer the crumbs to a bowl, add the butter, and knead the butter and ground cookie mixture until moist enough to form into a ball. If it is not moist enough to do so, melt an additional 14 to 25 g (1 to 1½ tablespoons) butter and knead it in.
Step 4
Divide the oat crust evenly between 2 (10-inch) pie tins. Using your fingers and the palms of your hands, press the oat cookie crust firmly into each pie tin, making sure the bottom and sides of the tin are evenly covered. Use the pie shells immediately, or wrap well in plastic and store at room temperature for up to 5 days or in the fridge for up to 2 weeks.
Step 5
Put both pie shells on a sheet pan. Divide the Milk Bar Pie® filling evenly between the crusts; the filling should fill them three-quarters of the way full. Bake for 15 minutes only. The pies should be golden brown on top but will still be very jiggly.
Step 6
Open the oven door and reduce the oven temperature to 325°f. Depending on your oven, it may take 5 minutes or longer for the oven to cool to the new temperature. Keep the pies in the oven during this process. When the oven reaches 325°f, close the door and bake the pies for 5 minutes longer. The pies should still be jiggly in the bull’s-eye center but not around the outer edges. If the filling is still too jiggly, leave the pies in the oven for an additional 5 minutes or so.
Step 7
Gently take the pan of Milk Bar Pies out of the oven and transfer to a rack to cool to room temperature. (You can speed up the cooling process by carefully transferring the pies to the fridge or freezer if you’re in a hurry.) then freeze your pies for at least 3 hours, or overnight, to condense the filling for a dense final product—freezing is the signature technique and result of a perfectly executed Milk Bar Pie.
Step 8
If not serving the pies right away, wrap well in plastic wrap. In the fridge, they will keep fresh for 5 days; in the freezer, they will keep for 1 month. Transfer the pie(s) from the freezer to the refrigerator to defrost a minimum of 1 hour before you’re ready to get in there.
Step 9
Serve your Milk Bar Pie cold! Decorate your pie(s) with confectioners’ sugar, either passing it through a fine sieve or dispatching pinches with your fingers.
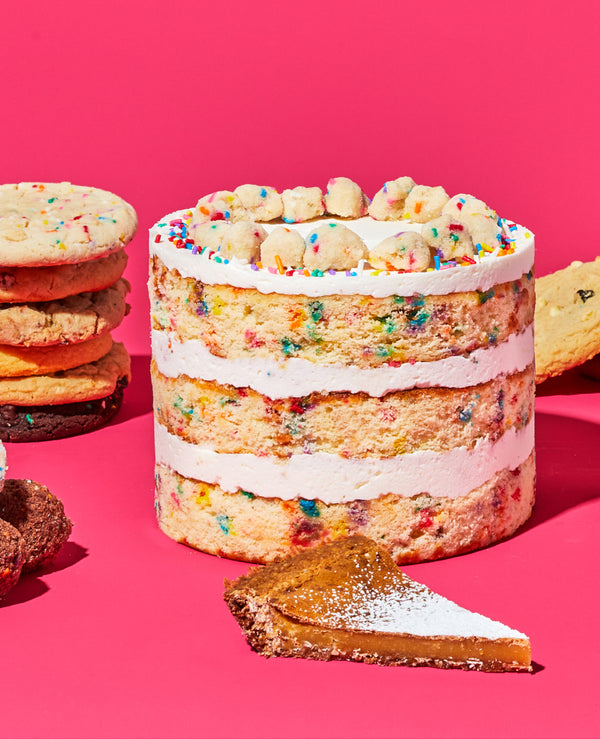
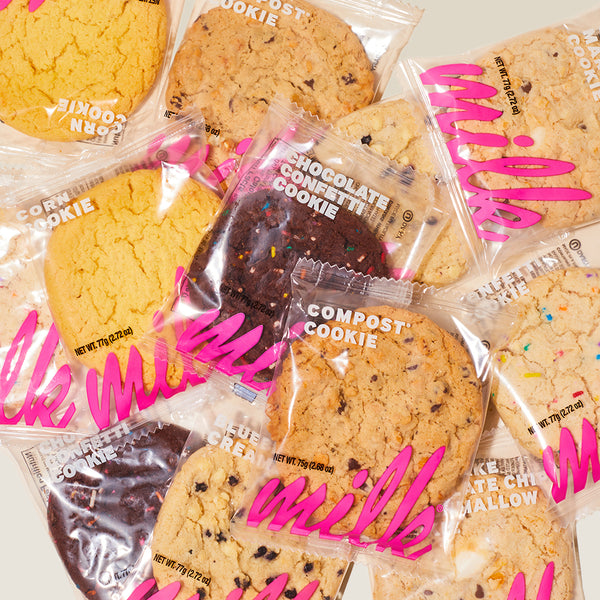
NO TIME TO BAKE?

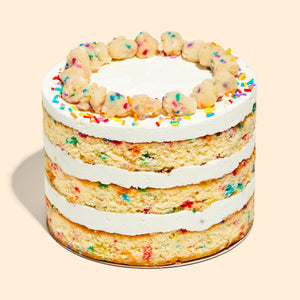
Birthday Cake
Our bestselling Birthday Cake has three tiers of rainbow-flecked vanilla...

Strawberry Shortcake Cake
Strawberry Shortcake but on a whole new level: vanilla cake...

Milk Bar® Pie
Our signature, gooey Milk Bar Pie has a sticky, buttery,...

Red Velvet Cheesecake Cake
Our Red Velvet Cheesecake ups the ante on decadence with...